Proper calibration is the cornerstone of accurate wheel balancing. Even the most advanced wheel balancer will produce inconsistent and unreliable results if not properly calibrated. This comprehensive guide will walk you through essential calibration techniques to ensure your wheel balancer delivers precise, consistent results that eliminate comebacks and enhance customer satisfaction.
Table of Contents
The Importance of Proper Calibration
Wheel balancer calibration is not just a maintenance task—it's a critical procedure that directly impacts your shop's reputation and bottom line. Here's why proper calibration matters:
Impact on Balance Accuracy
A properly calibrated wheel balancer can consistently achieve balance tolerances of ±1 gram or better. In contrast, an uncalibrated machine might be off by 5-10 grams or more, resulting in vibrations that customers will immediately notice.
Customer Satisfaction and Retention
Balance-related comebacks are among the most common customer complaints in automotive service. Each comeback costs you not only in warranty work but potentially in lost future business. Studies show that 70% of customers who experience a comeback will consider switching service providers.
Extended Equipment Lifespan
Regular calibration helps identify potential mechanical issues before they become serious problems, extending the useful life of your equipment and protecting your investment.

Graph showing the relationship between calibration frequency and balance quality
By the Numbers
A study of 100 automotive service centers found that shops performing monthly calibrations experienced 82% fewer balance-related comebacks compared to shops calibrating only when problems became apparent.
Signs Your Wheel Balancer Needs Calibration
Recognizing when your balancer needs calibration can save you from customer complaints and rework. Watch for these warning signs:
Inconsistent Results
If you get significantly different weight recommendations when balancing the same wheel multiple times without changing its position, your balancer likely needs calibration.
Increasing Comebacks
An uptick in customers returning with vibration complaints after wheel balancing is a clear indicator of calibration issues.
Unusual Readings
If your balancer consistently shows unusual patterns—such as always indicating heavy spots in the same position regardless of the wheel—calibration is likely needed.
After Environmental Changes
Significant changes in temperature or humidity, relocating the machine, or after any impact to the balancer can affect calibration.
Following Service or Repairs
Always calibrate after any service work on the balancer, including sensor replacement, software updates, or mechanical adjustments.
Warning
Don't wait for multiple signs before calibrating. A single indicator, especially increasing customer comebacks, should trigger immediate calibration to prevent damage to your reputation and customer relationships.
Preparation for Calibration
Proper preparation is essential for accurate calibration. Follow these steps to ensure your calibration process yields optimal results:
Environmental Conditions
For accurate calibration, ensure:
- Stable floor surface with minimal vibration
- Consistent room temperature (65-75°F/18-24°C is ideal)
- Balancer is leveled according to manufacturer specifications
- Machine has been powered on for at least 15 minutes to stabilize electronics
Required Tools and Equipment
Gather these essential items before beginning:
- Manufacturer's calibration weight (precise to within 0.5g)
- Calibration wheel (usually supplied with the balancer)
- Clean, undamaged wheel cone or adapters
- Torque wrench for proper mounting
- Manufacturer's calibration procedure documentation
- Digital level for checking machine levelness
Machine Inspection
Before calibration, inspect these components:
- Shaft for damage, scoring, or excessive play
- Drive belt for proper tension and condition
- Mounting accessories for wear or damage
- Electrical connections for security
- Sensors for obvious damage or obstruction
Pro Tip
Keep a dedicated calibration log that records dates, procedures performed, and results. This history can be invaluable for identifying patterns and predicting when calibration might be needed in the future.

Essential tools and proper setup for wheel balancer calibration
Step-by-Step Calibration Process
While specific procedures vary by manufacturer, most digital wheel balancers follow a similar calibration sequence. Always refer to your machine's service manual for exact procedures, but this general guide covers the fundamentals:
Basic Calibration Procedure
-
Enter Calibration Mode
Access the calibration menu through your balancer's interface. This typically requires a specific button sequence or password as outlined in your manual.
-
Initial Spin (Zero Calibration)
Mount the calibration wheel or a known good wheel with the following conditions:
- Clean mounting surfaces
- Proper centering with appropriate cone
- Torqued to manufacturer specifications
Perform an initial spin with no weights attached. This establishes the baseline for the system.
-
Weight Placement
After the first spin, the machine will prompt you to attach the calibration weight to a specific position on the wheel (typically at 12 o'clock). Use only the exact weight specified by the manufacturer, usually 100g for passenger car balancers.
-
Calibration Spin
Perform a second spin with the calibration weight attached. The machine uses this measurement to calculate its internal calibration factors.
-
Position Verification
Some balancers require additional spins with the weight moved to different positions (e.g., 3 o'clock, 6 o'clock) to verify calibration across all sensors.
-
Save Calibration
Confirm and save the calibration results. The machine will typically provide feedback on whether the calibration was successful.
-
Verification Test
After calibration, perform a verification test:
- Balance a standard wheel and note the weight positions and amounts
- Remove the wheel, rotate it 180 degrees, and rebalance
- The weight positions should be approximately opposite, and the amounts should be similar
Advanced Calibration Procedures
Many modern balancers offer additional calibration options:
Diameter and Distance Calibration
This calibrates the automatic measuring devices using a calibration tool or specific wheel size.
- Enter the diameter/distance calibration mode
- Use the measurement arm to touch the calibration point or rim edge as prompted
- Input the actual measurements when requested
- Save the calibration settings
Width Sensor Calibration (If Equipped)
For machines with automatic width measurement:
- Enter width calibration mode
- Position the width arm as directed by the machine
- Input the actual width measurement when prompted
- Verify against known width measurements

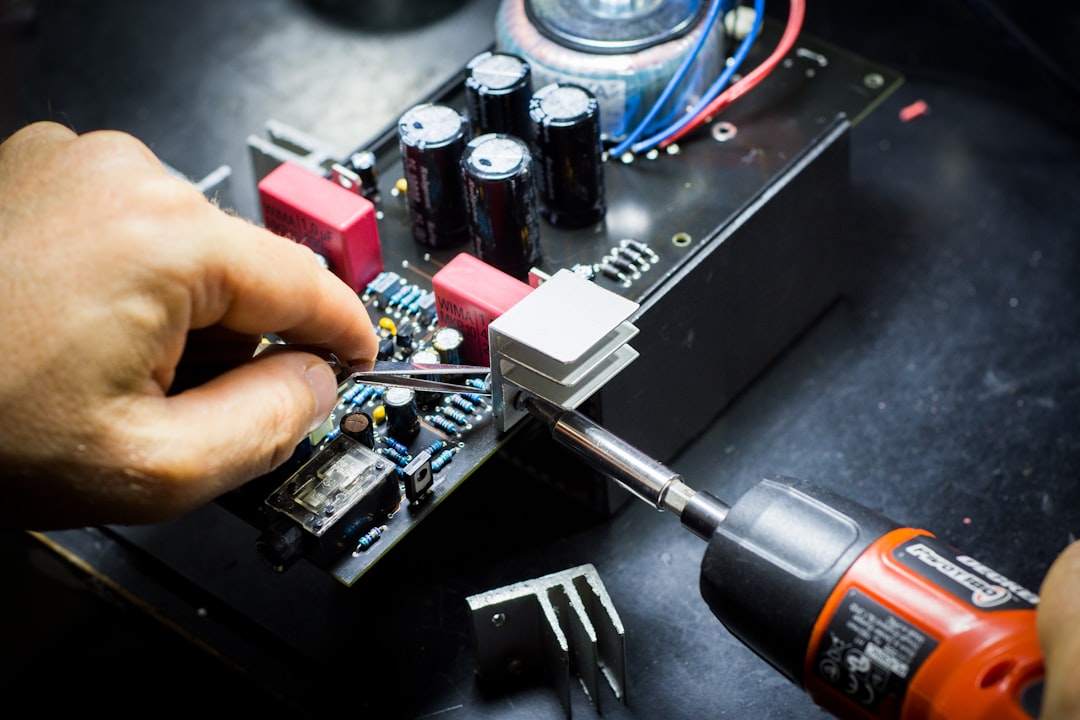
Proper placement of calibration weight during the calibration process
Common Calibration Issues and Solutions
Even with careful attention to procedure, calibration challenges can arise. Here are common issues and their solutions:
Failed Calibration Attempts
Symptoms: Machine displays error messages during calibration or refuses to accept calibration values.
Potential Causes and Solutions:
- Incorrect weight value: Verify you're using the exact weight specified by the manufacturer.
- Unstable mounting: Ensure the calibration wheel is properly centered and securely mounted.
- Floor vibration: Check for external vibrations affecting readings. Recalibrate during quieter periods.
- Sensor malfunction: If persistent, contact technical support as a sensor replacement may be needed.
Inconsistent Post-Calibration Results
Symptoms: Machine passes calibration but still produces inconsistent results in normal operation.
Potential Causes and Solutions:
- Shaft damage: Inspect the shaft for scoring or wear that might affect wheel mounting.
- Mounting accessories: Check all cones, adapters, and quick-nuts for damage or wear.
- Electrical interference: Verify no new equipment is causing electrical interference nearby.
- Software issues: For digital balancers, check if a software update is available.
Drifting Calibration
Symptoms: Balancer requires frequent recalibration, with accuracy deteriorating quickly after calibration.
Potential Causes and Solutions:
- Temperature fluctuations: Stabilize the ambient temperature in the work area.
- Power supply issues: Install a power conditioner if electrical supply is unstable.
- Mechanical looseness: Check for loose mounting bolts or internal components.
- Aging sensors: Older machines may require more frequent calibration or sensor replacement.
Important
If calibration issues persist after attempting these solutions, contact the manufacturer's technical support. Continuing to use an improperly calibrated balancer can damage customer relationships and potentially damage wheels through improper balance.
Maintaining Calibration Accuracy
Proper maintenance ensures your calibration remains accurate between formal calibration procedures:
Recommended Calibration Frequency
Industry best practices suggest the following calibration schedule:
- High-volume shops (20+ wheels daily): Monthly calibration
- Medium-volume shops (10-20 wheels daily): Bi-monthly calibration
- Low-volume shops (fewer than 10 wheels daily): Quarterly calibration
- Additional calibrations: After any machine relocation, impact, or service
Daily Maintenance Practices
Incorporate these practices into your daily routine:
- Keep the shaft clean and lightly lubricated per manufacturer specifications
- Inspect mounting accessories for damage before each use
- Clean the balancer surface and remove accumulated weight clips or debris
- Verify machine levelness periodically, especially after floor cleaning
- Perform a verification spin on a known good wheel at the start of each day
Staff Training
Proper staff training is essential for maintaining calibration:
- Train all technicians on proper wheel mounting techniques
- Ensure everyone understands the signs of calibration issues
- Establish a clear process for reporting suspected calibration problems
- Designate specific staff members responsible for performing calibrations
- Document all calibration procedures in a central location accessible to all staff
Real-World Impact
A nationwide study of tire service centers found that shops with formal calibration maintenance programs averaged 27% higher customer satisfaction scores and 35% fewer balance-related warranty claims compared to shops without structured programs.

Regular maintenance helps maintain calibration accuracy between formal procedures
Conclusion and Best Practices
Proper calibration is not an optional task—it's a fundamental requirement for delivering quality wheel balancing service. By implementing a robust calibration and maintenance program, you can ensure consistent accuracy, minimize comebacks, and build a reputation for excellence.
Calibration Best Practices Summary
- Develop a formal calibration schedule based on your shop's volume and equipment type
- Keep comprehensive records of all calibrations, including dates, procedures, and results
- Use only manufacturer-specified calibration weights and tools
- Ensure all technicians understand proper mounting procedures for all wheel types
- Create a dedicated, vibration-free space for your wheel balancer
- Implement a daily quick-check procedure to catch calibration issues early
- Schedule professional service for periodic comprehensive calibration and inspection
The Return on Investment
The time and resources invested in proper calibration yield substantial returns:
- Reduced comebacks and warranty work
- Enhanced customer satisfaction and retention
- Extended equipment lifespan
- Improved technician efficiency with consistent, reliable results
- Protection of your shop's reputation for quality service
"In 25 years of running tire service operations, I've found that nothing separates top-performing shops from average ones more clearly than their commitment to consistent calibration. It's the foundation of quality service."— Lisa Chen, Equipment Specialist at Wheel Balancer Hub
Need Help with Your Calibration Process?
Our technical team can provide model-specific guidance for your wheel balancer calibration needs. Contact us for personalized assistance or to schedule a consultation.
Contact Our Technical Team